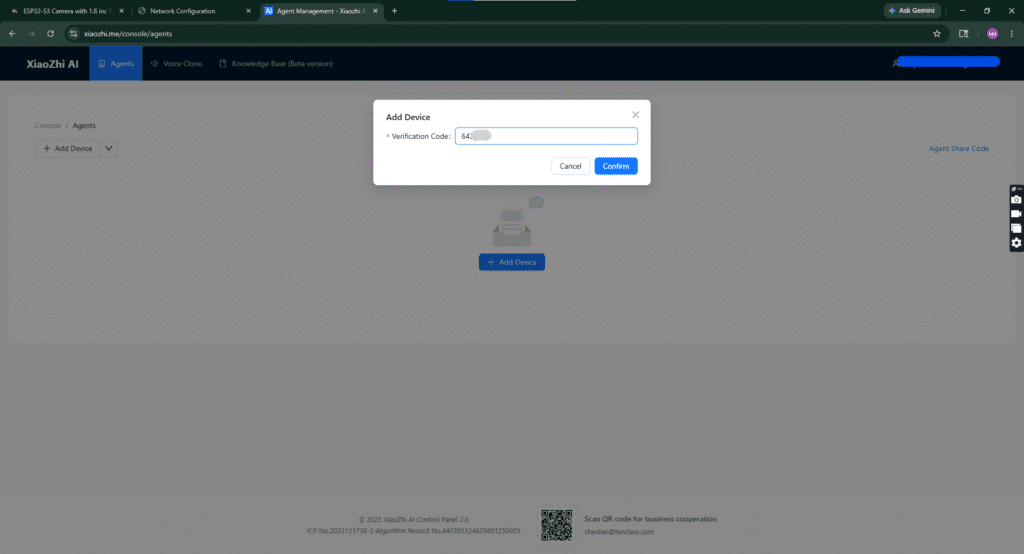
ESP32 Expansion with 1.3 inc OLED Display
The ESP32 AI Expansion Board is designed to make building a XiaoZhi AI Voice Assistant simple, fast, and reliable. It provides dedicated sockets for the ESP32 WROOM-32 (30-Pin), OL...
Flash Firmware Directly from Browser
Connect your ESP32 Expansion with 1.3 inc OLED Display board to your computer using a USB data cable. Click the button below to pair with your serial port and flash the official AI Xiaozhi firmware in seconds.
Hardware Checklist
- ✓Microcontroller: ESP32 Development Board
- ✓Display: OLED 1.3" Module (I2C / SPI)
- ✓Microphone: INMP441 Omnidirectional I2S Mic
- ✓Audio Output: MAX98357A I2S DAC Amplifier + Speaker
- ✓Connection: USB Type-C Data Cable (for power & flashing)
Video Walkthrough
YouTubeWatch step-by-step assembly, pairing with the Xiaozhi platform, and live voice interactions.
Step-by-Step Hardware & Setup Guide
Follow the wiring connections, component details, Wi-Fi pairing instructions, and voice commands below.
Introduction
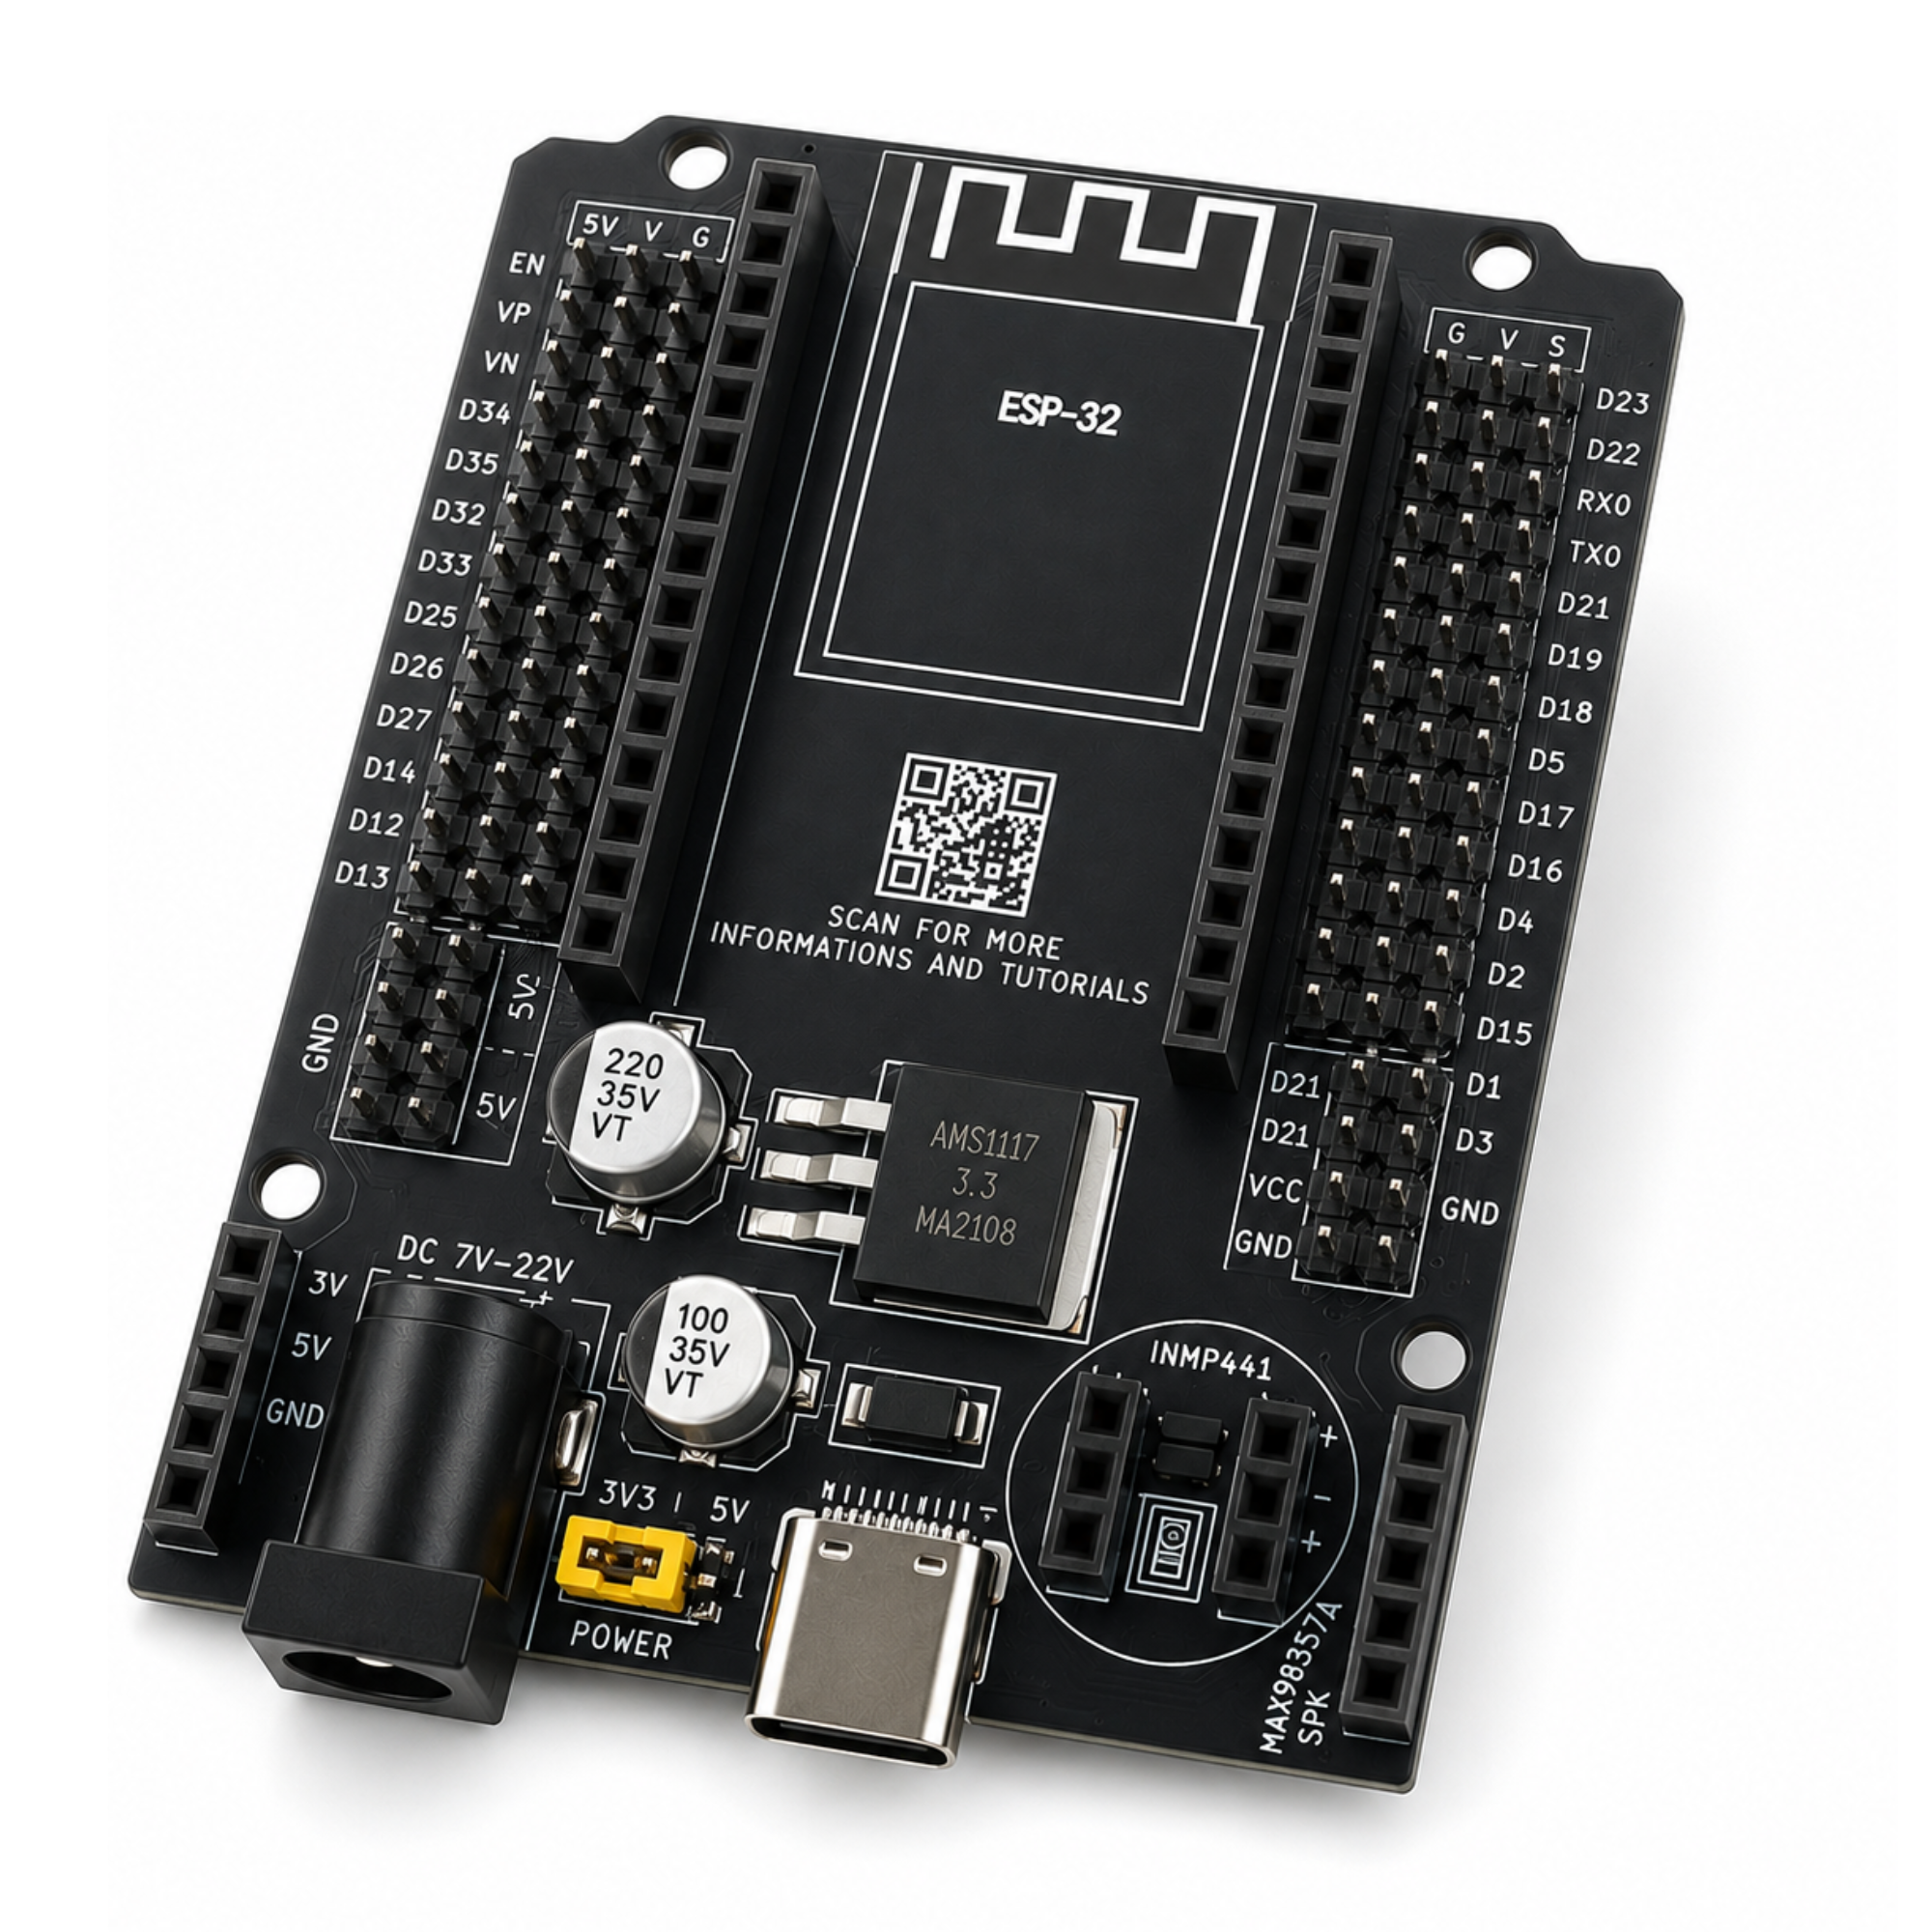
The ESP32 AI Expansion Board is designed to make building a XiaoZhi AI Voice Assistant simple, fast, and reliable. It provides dedicated sockets for the ESP32 WROOM-32 (30-Pin), OLED Display, INMP441 I2S Microphone, and MAX98357A Audio Amplifier, eliminating the need for messy jumper wires.
With its plug-and-play design and convenient USB Type-C power input, you can assemble your AI voice assistant within minutes and spend more time developing intelligent voice applications instead of troubleshooting hardware connections.
Features
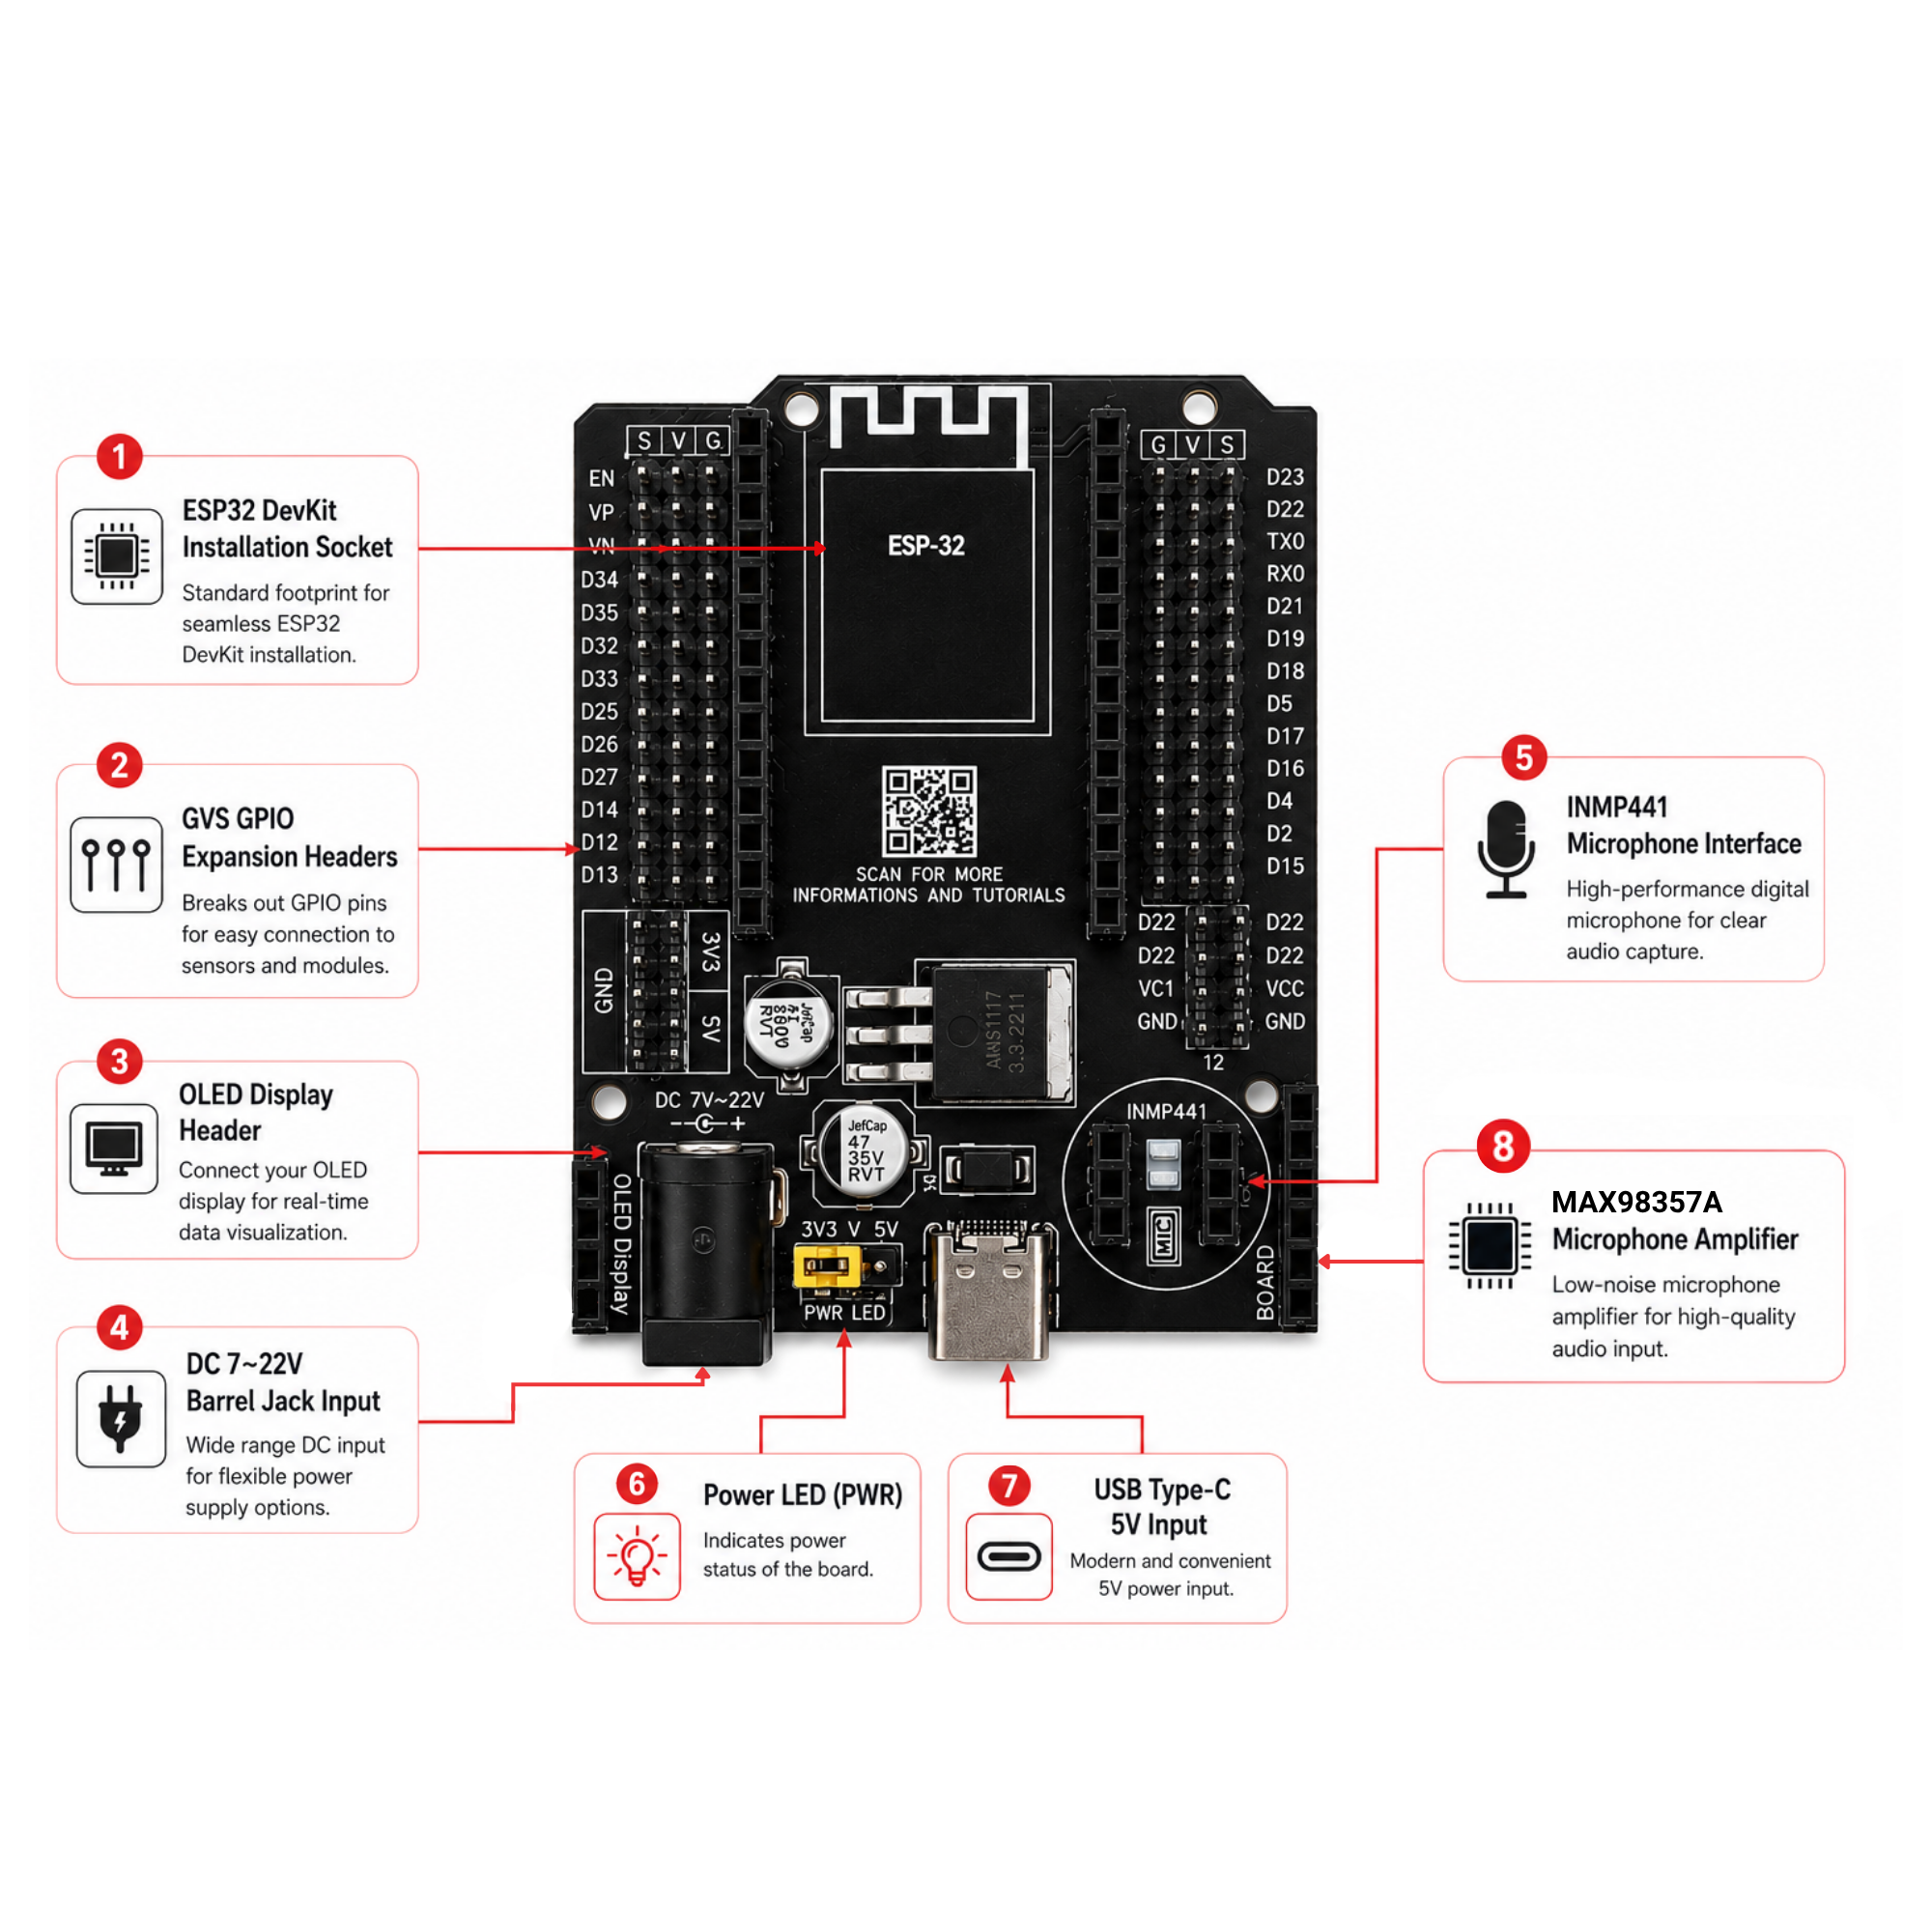
Required Components
| Component | Description | Qty |
|---|---|---|
| ESP32 Dev Board | 30 pins | 1 |
| INMP441 I2S Mic | Digital I2S microphone | 1 |
| MAX98357A Amp | I2S audio amplifier | 1 |
| 2W 4Ω Speaker | 2W 4Ω Speaker or any available speaker up to 16Ω. | 1 |
| OLED Display (I2C) 128x64 | Shows pairing code | 1 |
| AI EXPANSION BOARD | For prototyping | 1 |
Circuit Connections
GND → GND
L/R → GND
SD → GPIO32
WS → GPIO25
SCK → GPIO26
GND → GND
LRC → GPIO27
DIN → GPIO33
GAIN → GND
BCLK → GPIO14
GND → GND
SCK → GPIO22
SDA → GPIO21
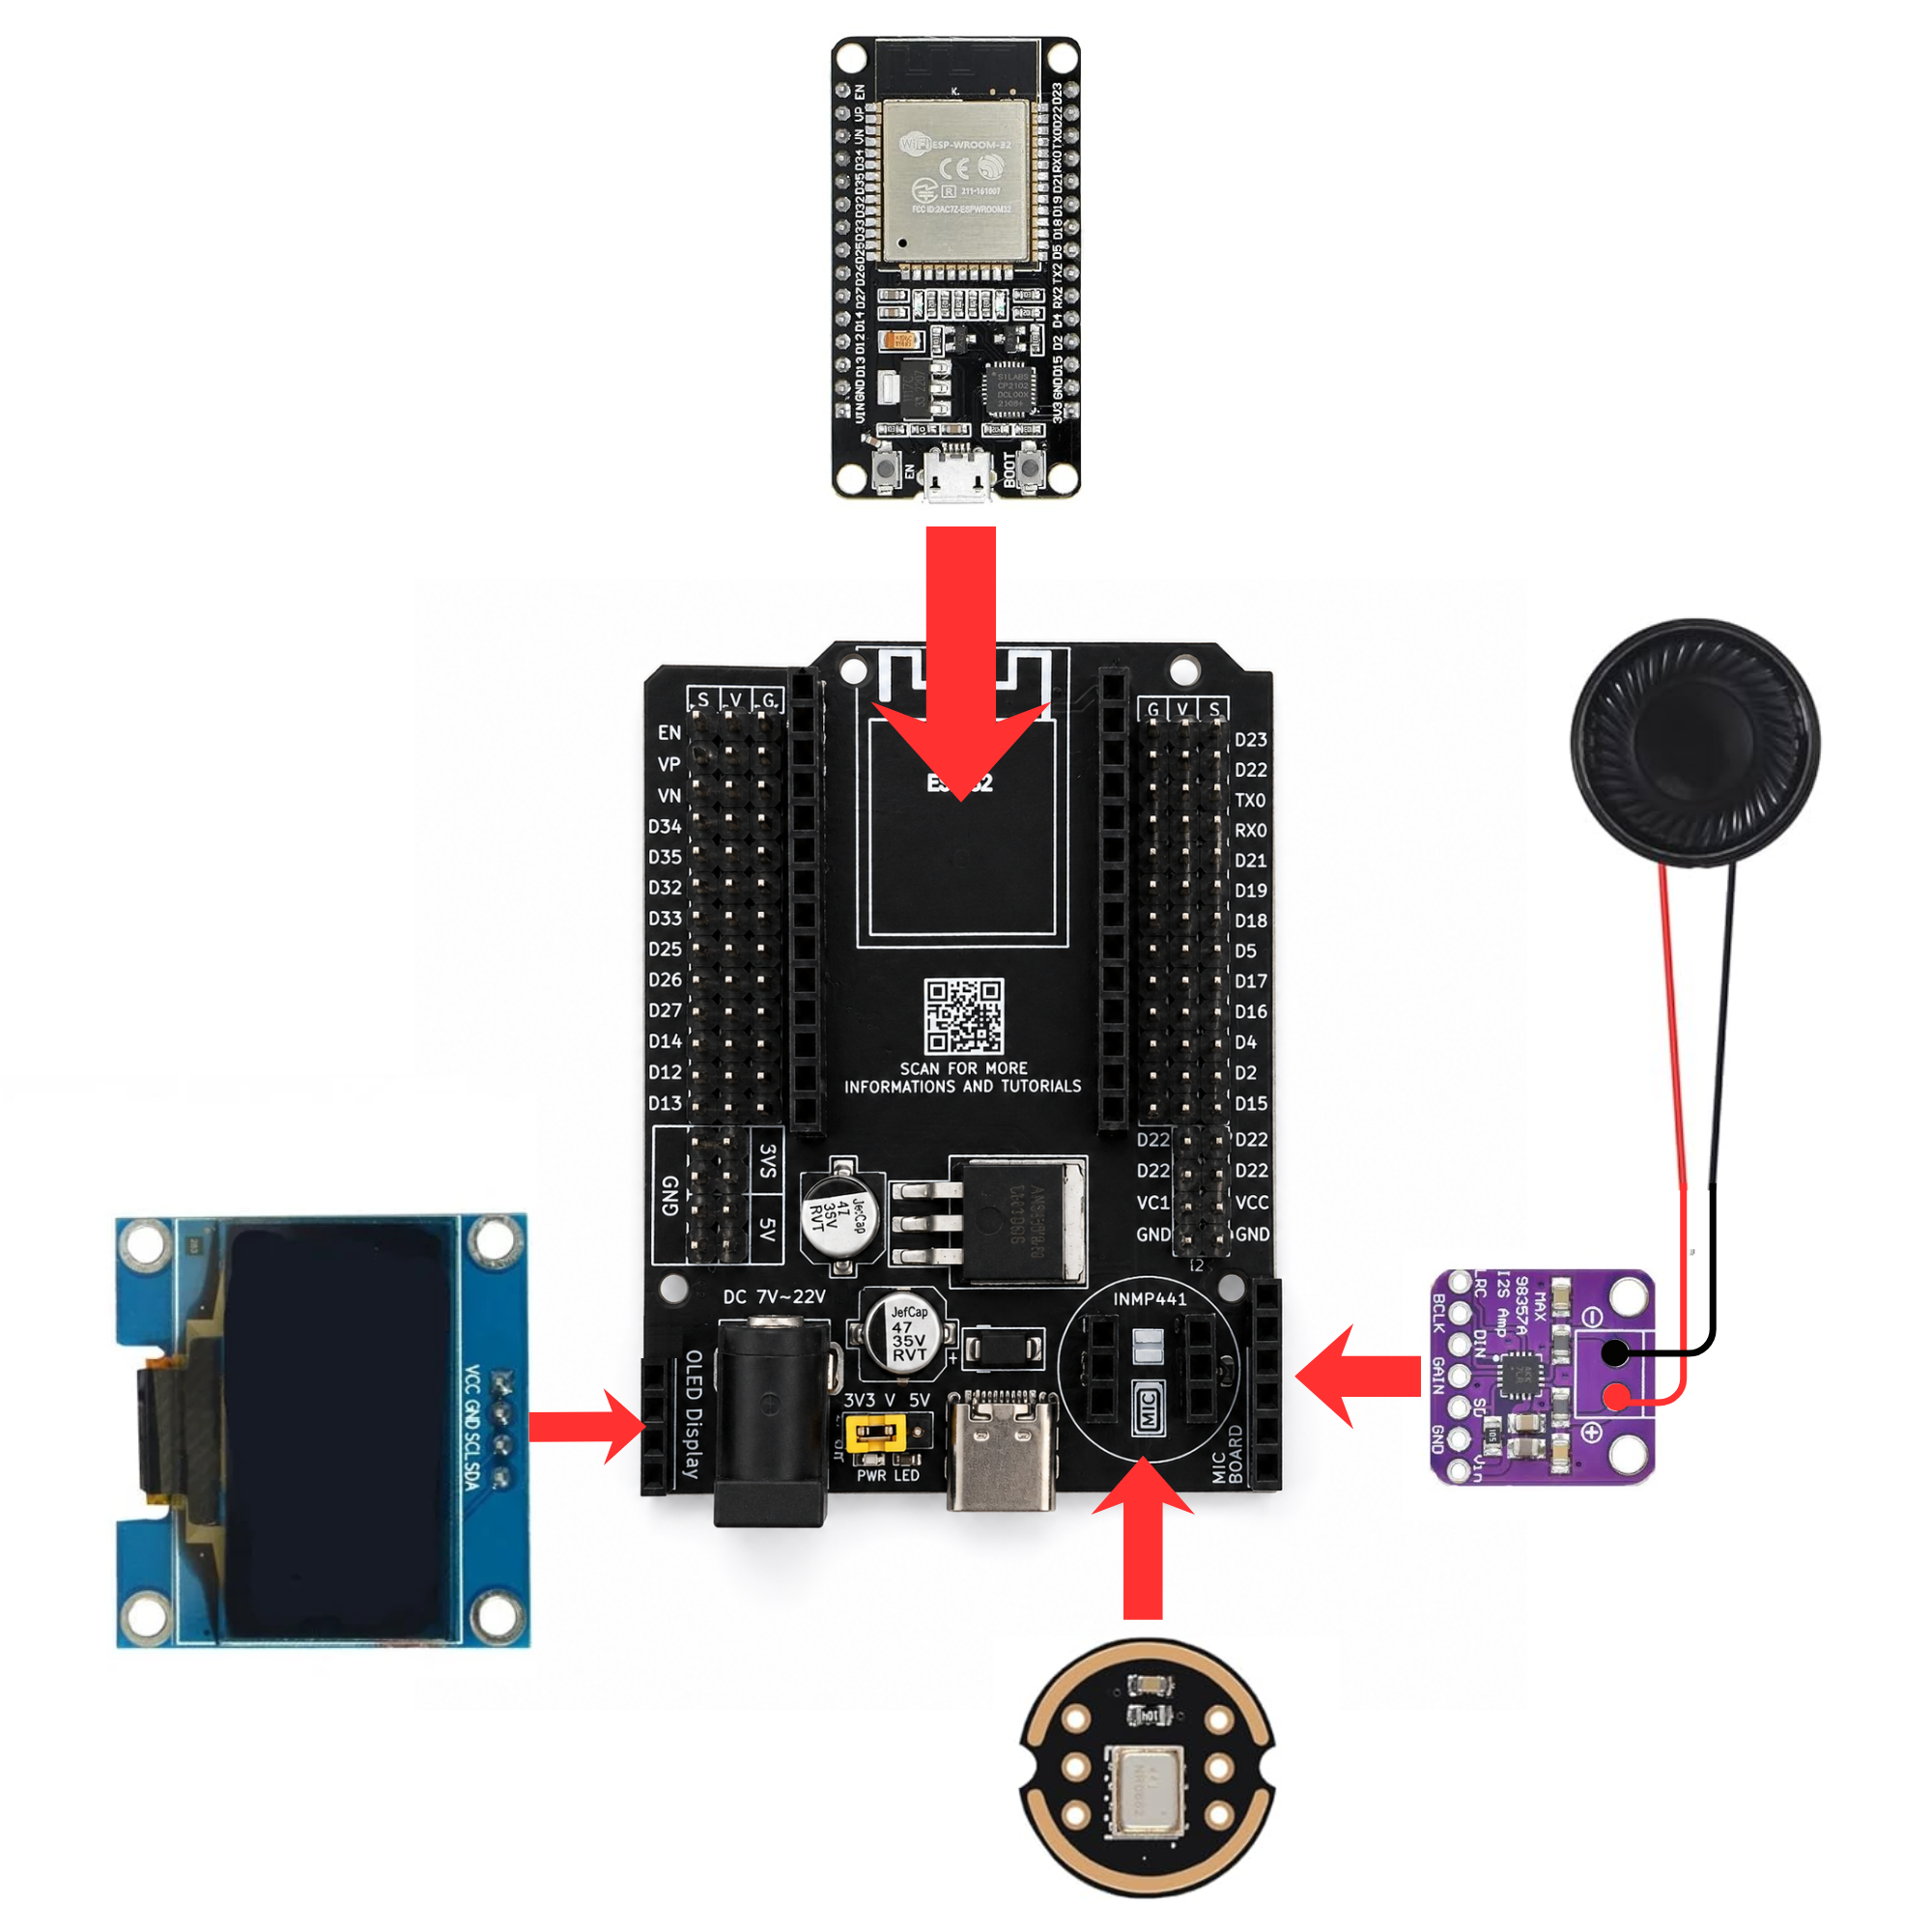
Block Diagram
Flash Firmware (Browser-Based)
No Arduino IDE required — flash directly from your browser using Web Serial.
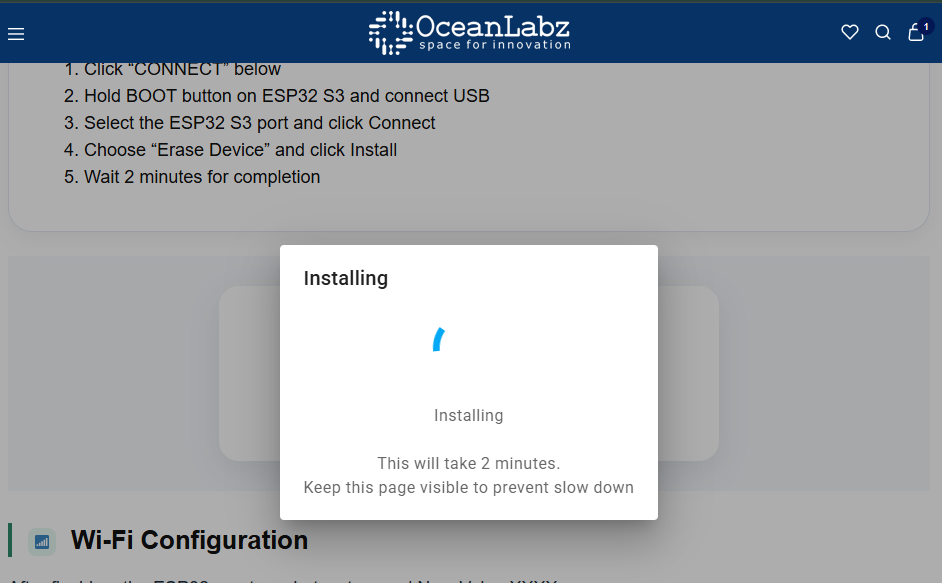
- Click "CONNECT" below
- Hold BOOT button on ESP32 and connect USB
- Select the ESP32 port and click Connect
- Choose "Install OceanLabz ESP32" and click Install
- Wait 2 minutes for completion
Wi-Fi Configuration
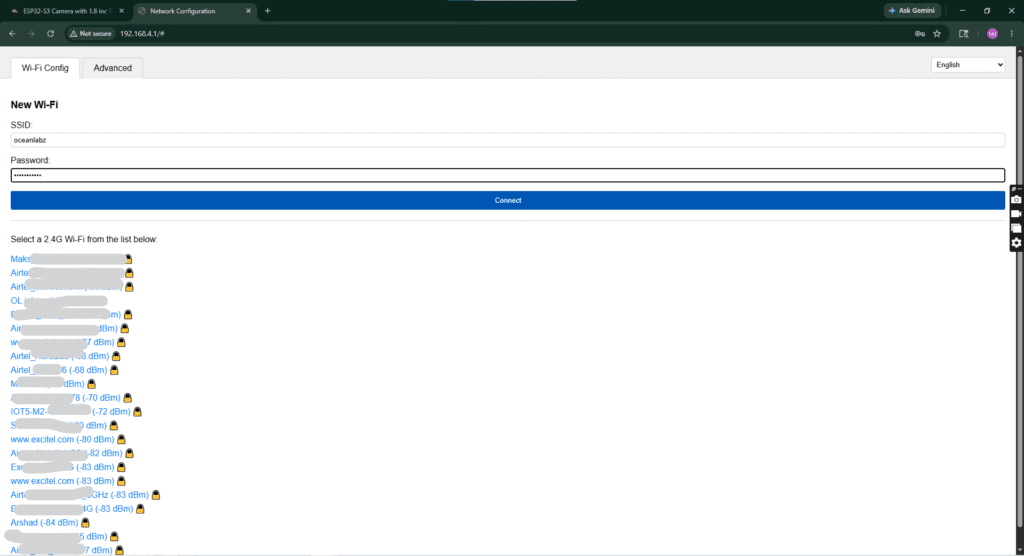
After flashing, the ESP32 creates a hotspot named Xiaozhi-XXXX.
- Connect to this Wi-Fi (no password)
- Open
192.168.4.1in browser - Select your home 2.4GHz Wi-Fi and enter password
- Device will restart and connect to your network
Create Account & Pair
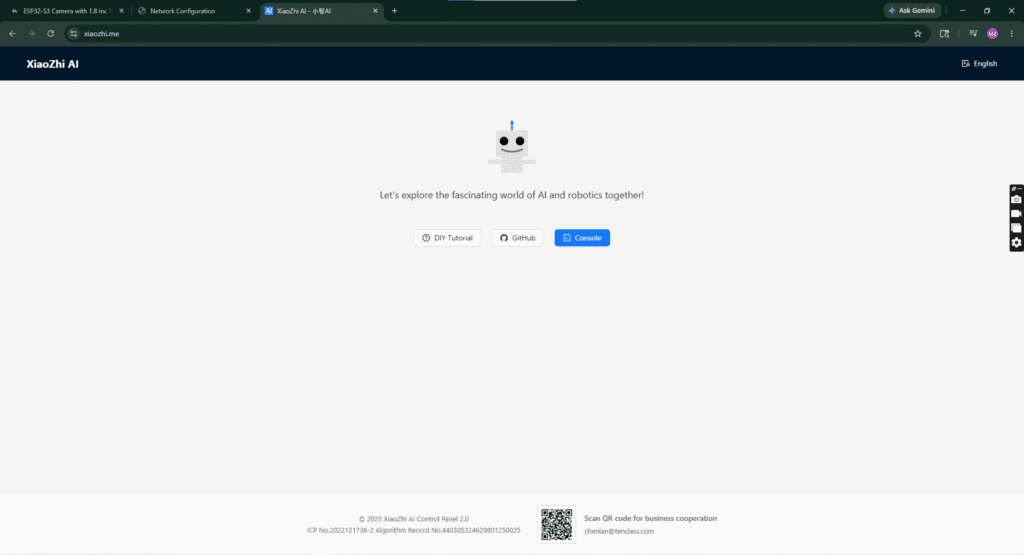
Pair Your ESP32