ESP32 S3 AI Expansion with S3 Camera Board
Introduction
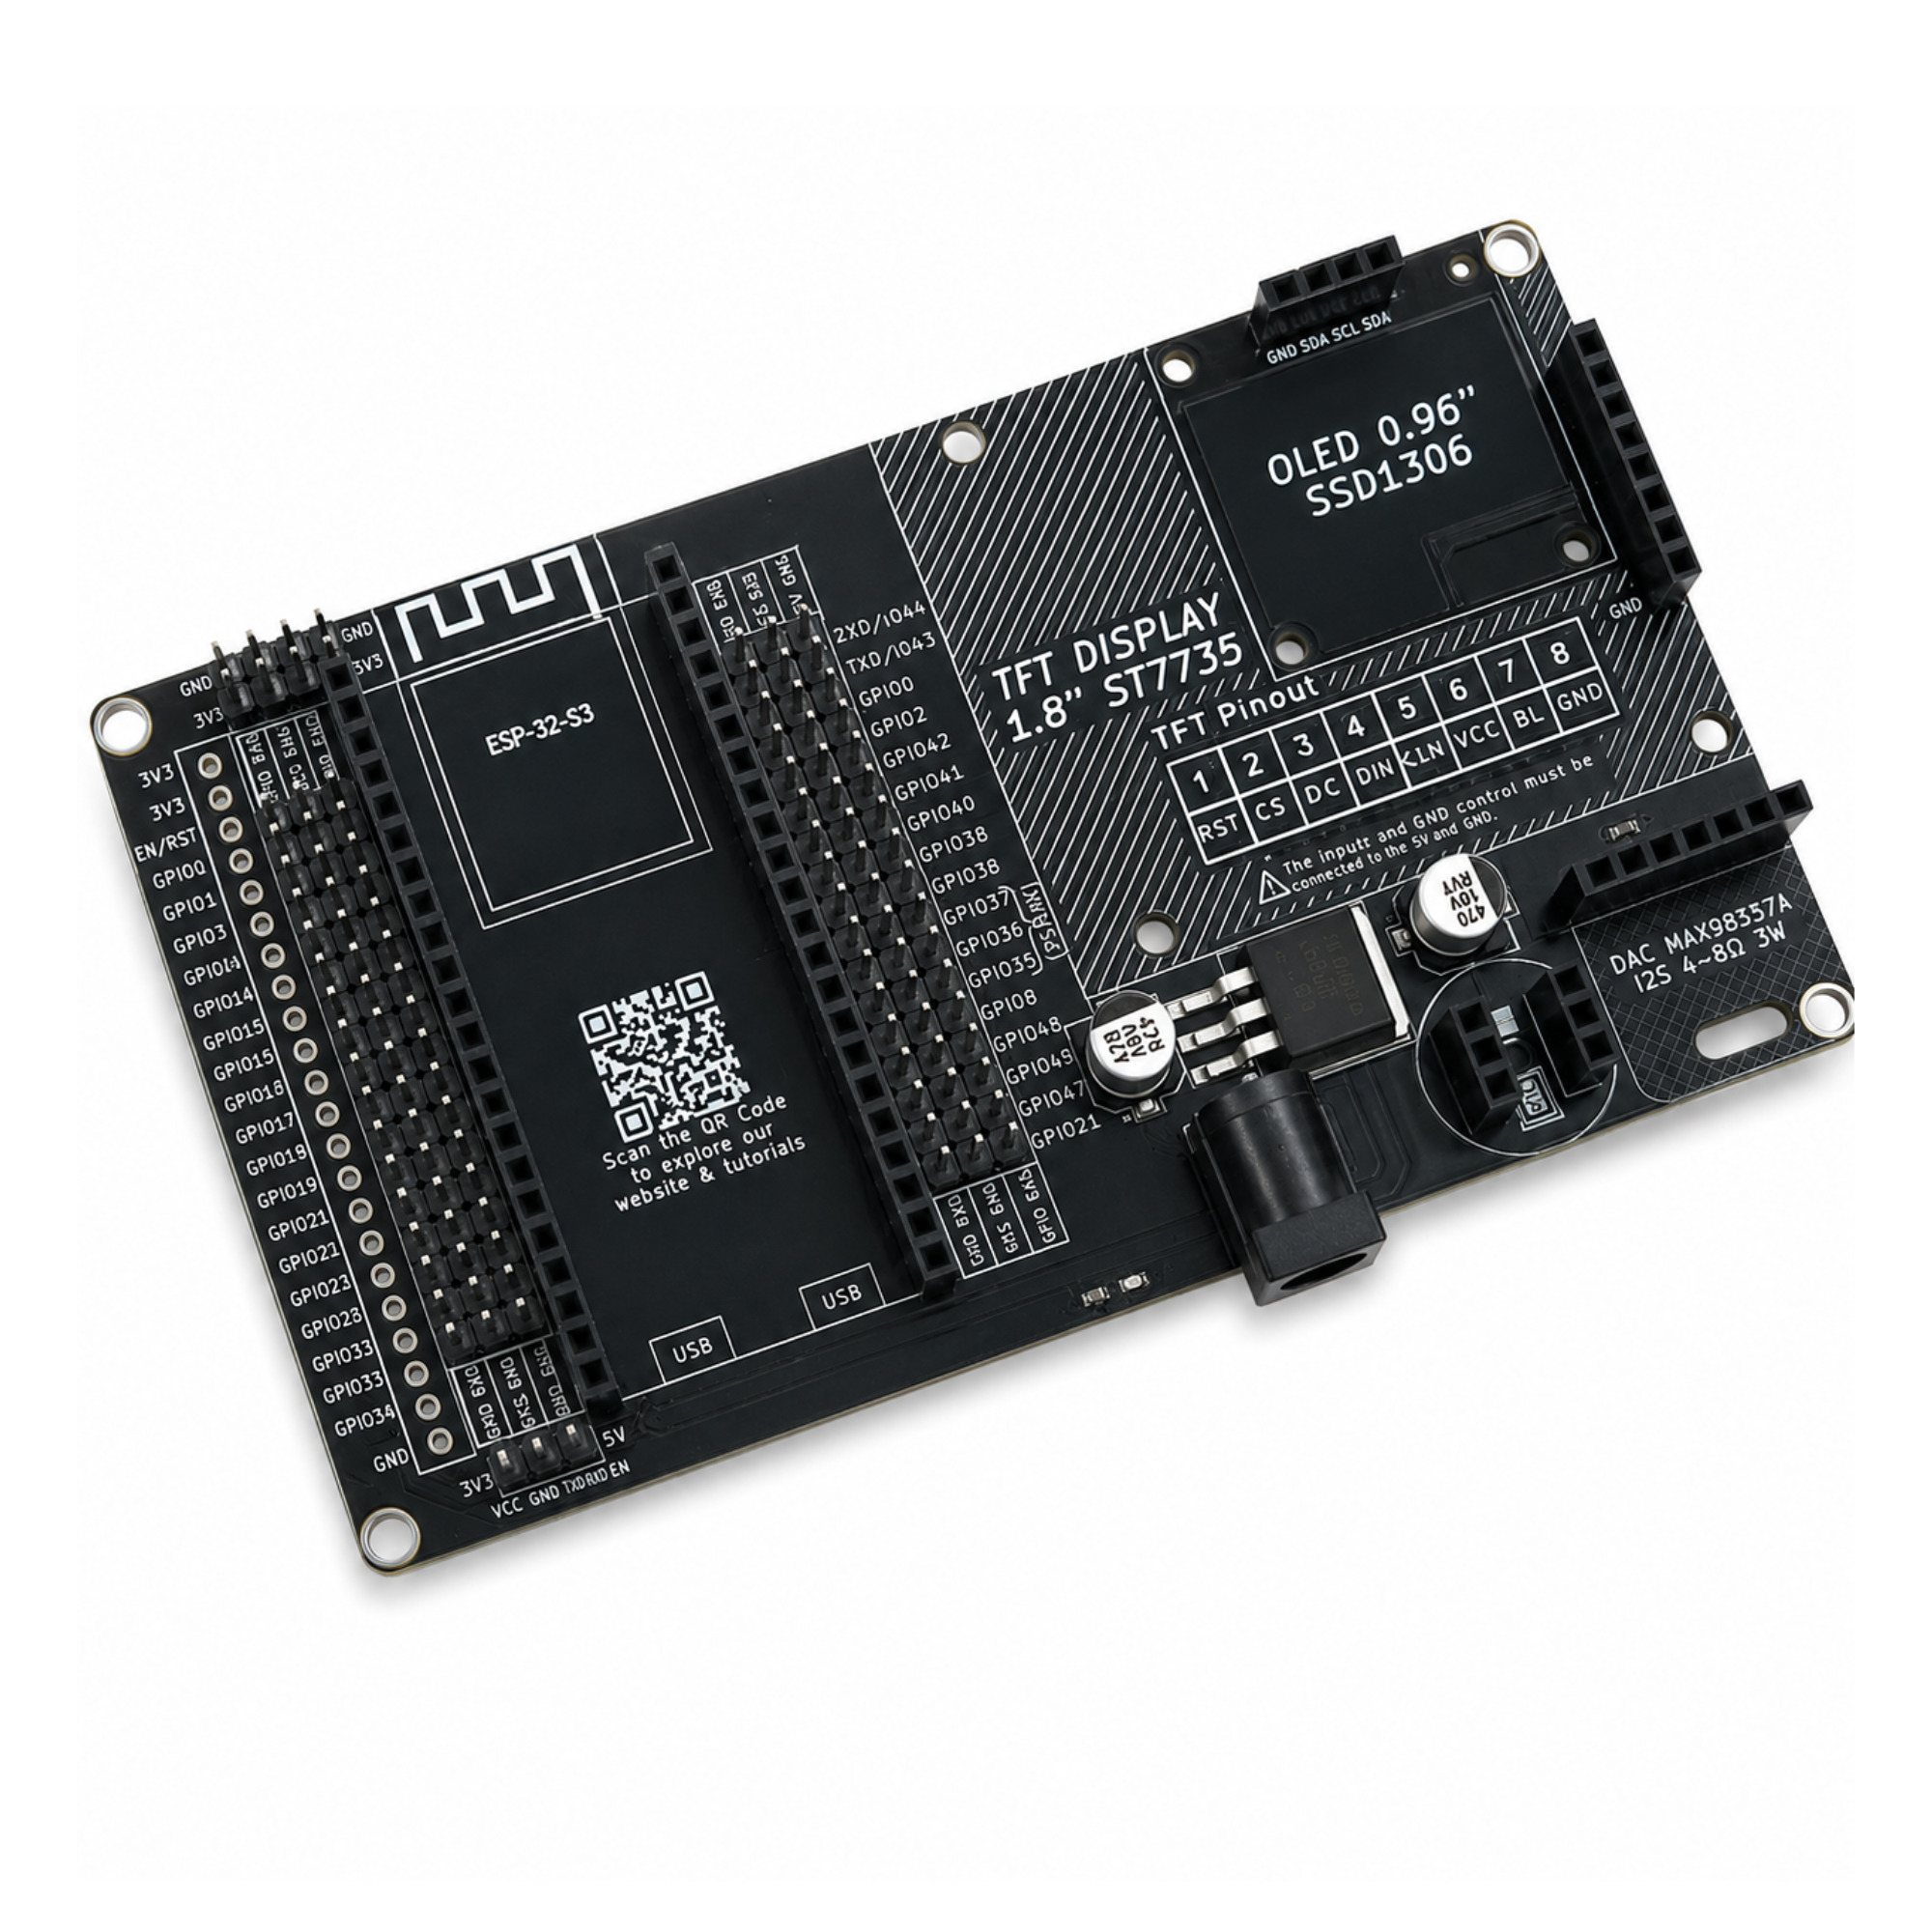
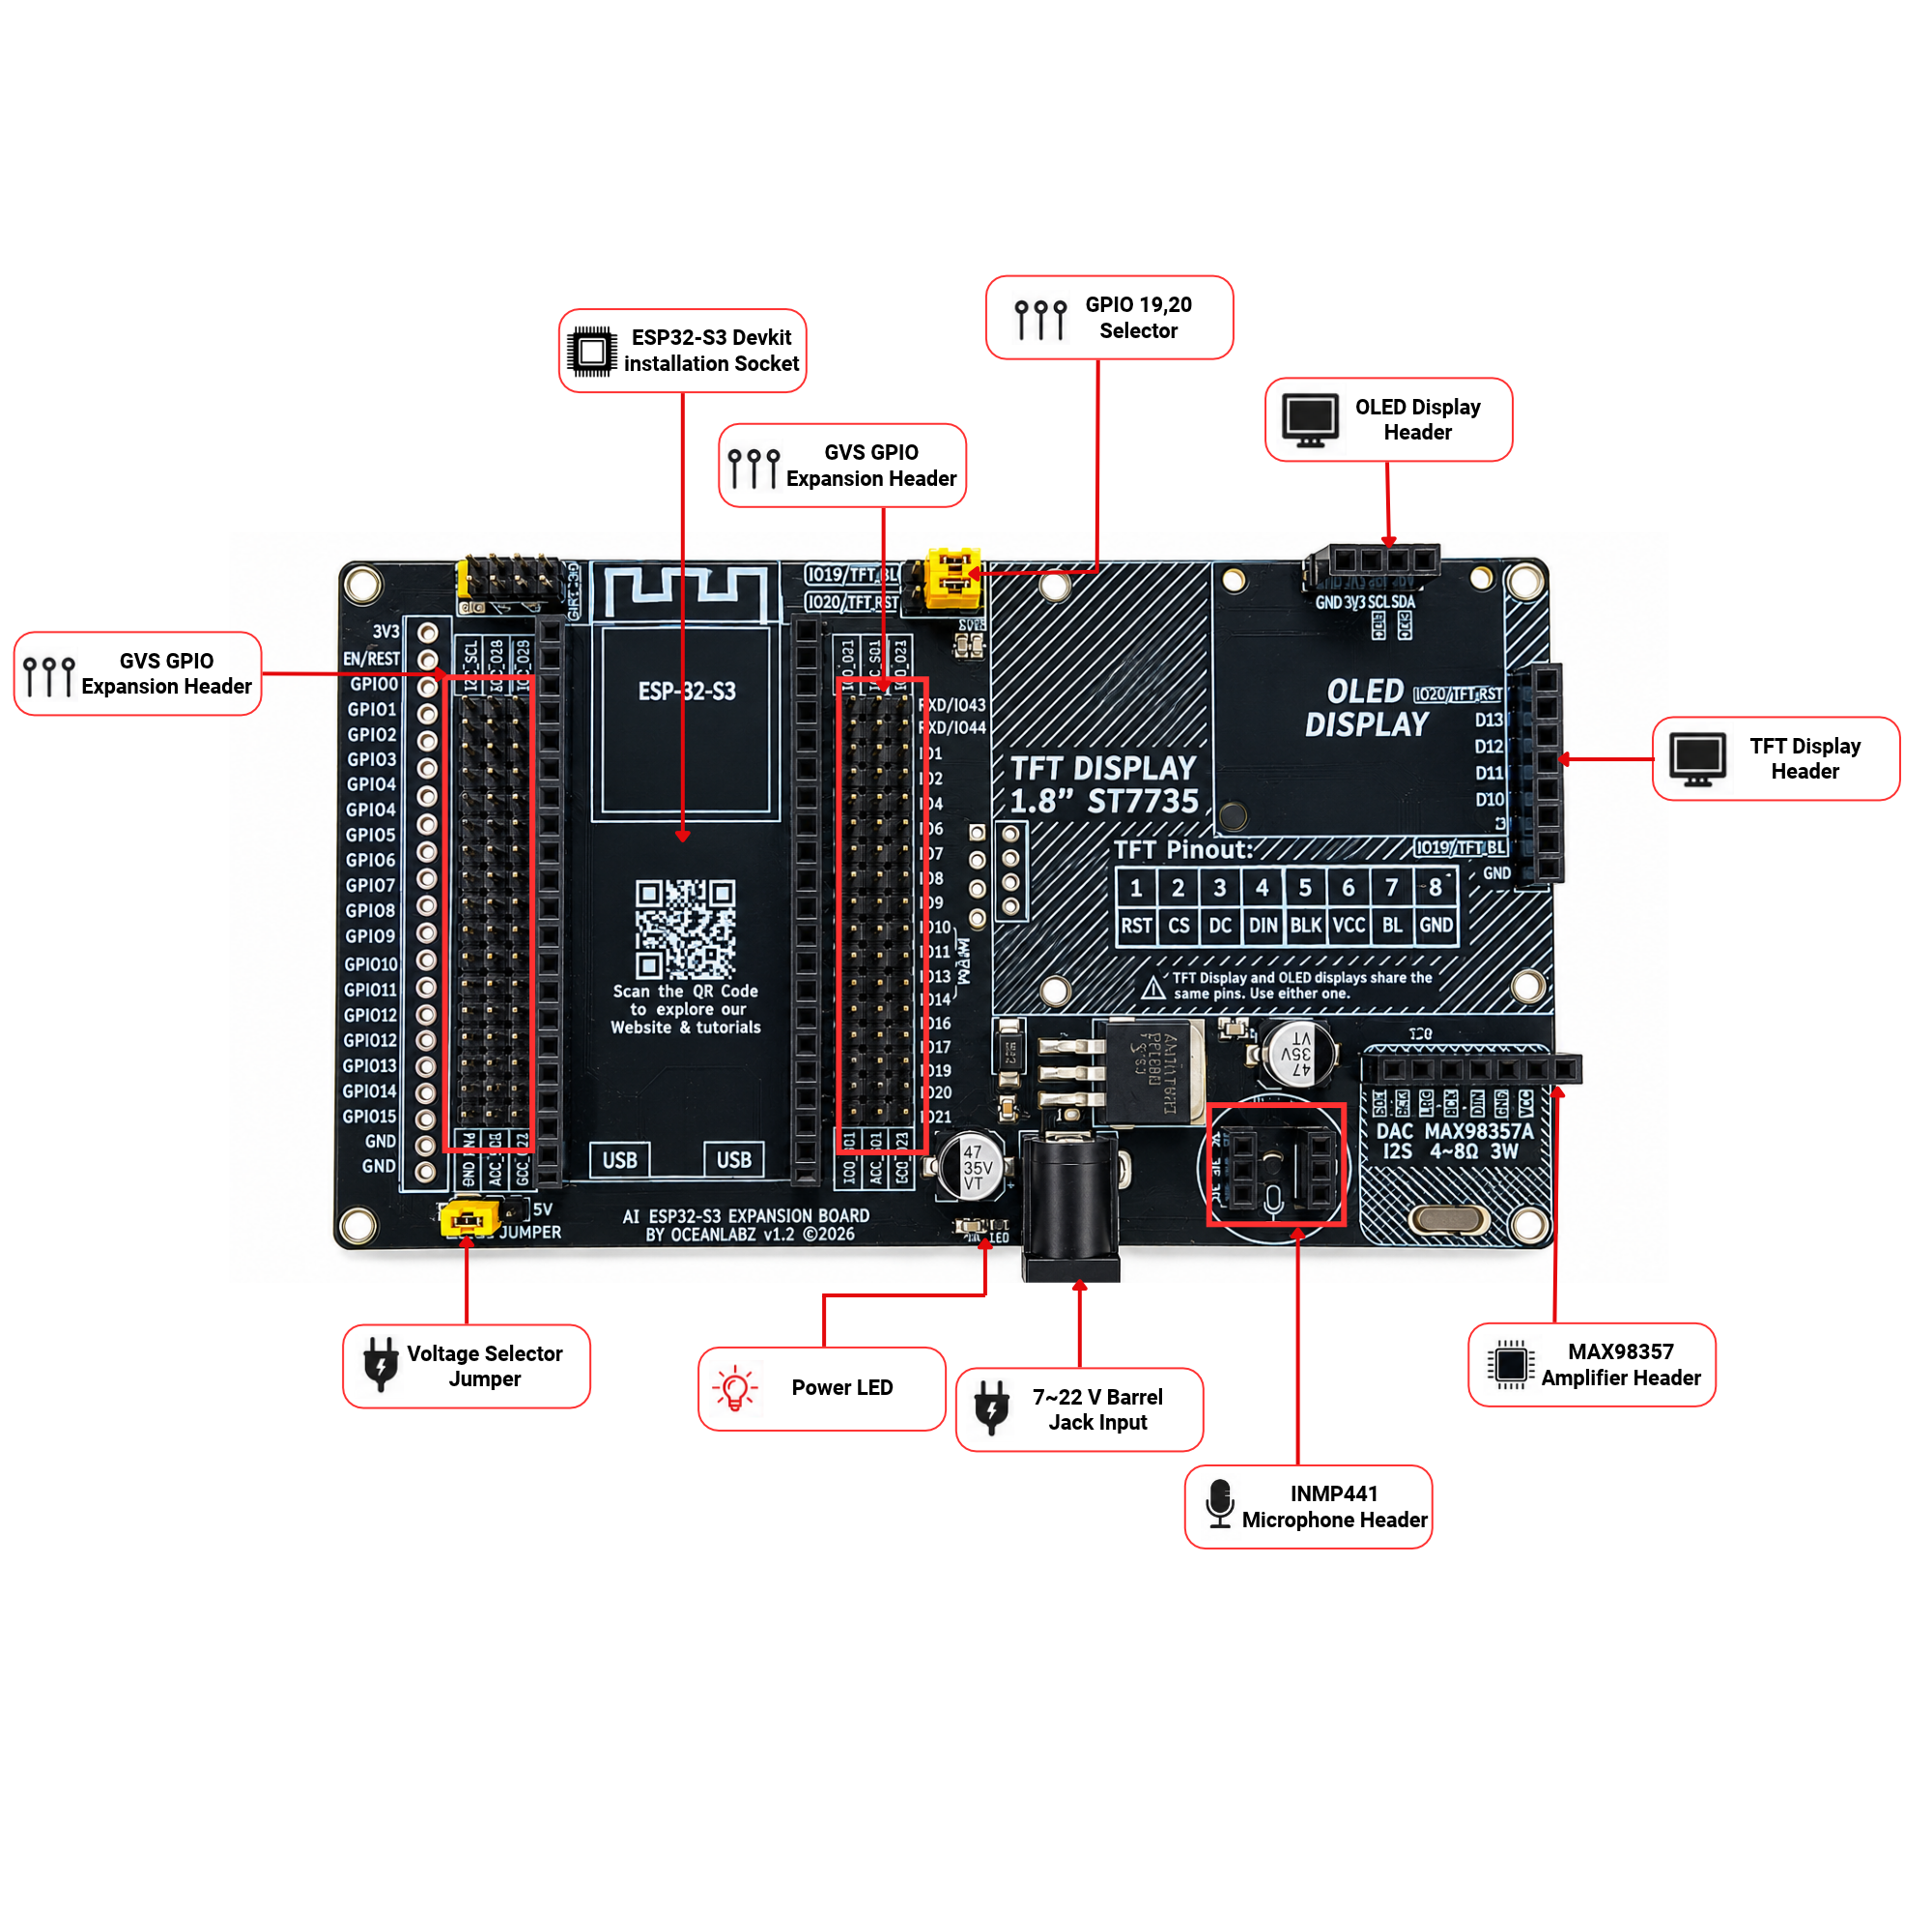
The OceanLabz ESP32-S3 Expansion Board simplifies AI and IoT development by integrating support for the ESP32-S3 N16R8 DevKit, ST7735 TFT, SSD1306 OLED, INMP441 microphone, and MAX98357A audio amplifier on a single plug-and-play board. It reduces wiring, provides GPIO expansion, and is ideal for XiaoZhi AI, TinyML, robotics, smart home, and embedded system projects.
In this tutorial, we will set up XiaoZhi AI on the OceanLabz ESP32-S3 Expansion Board step by step. By the end of this guide, your board will be ready to use as an AI voice assistant.
Features
Required Components
| Component | Description | Qty |
|---|---|---|
| ESP32-S3 Dev Board | ESP32 S3 Devkit Without Camera Board | 1 |
| INMP441 I2S Mic | Digital I2S microphone | 1 |
| MAX98357A Amp | I2S audio amplifier | 1 |
| 2W 4Ω Speaker | 2W 4Ω Speaker or any available speaker up to 16Ω. | 1 |
| TFT 1.8 inc Display (I2C) 128x160 | Shows pairing code, Animations and more! | 1 |
| AI EXPANSION BOARD | For prototyping | 1 |
Circuit Connections
GND → GND
L/R → GND
SD → GPIO42
WS → GPIO1
SCK → GPIO2
GND → GND
LRC → GPIO46
DIN → GPIO41
GAIN → GND
BCLK → GPIO14
GND → GND
BL → GPIO19
CLK → GPIO45
DIN → GPIO21
D/C → GPIO47
CS → GPIO3
RST → GPIO20
Hardware Setup
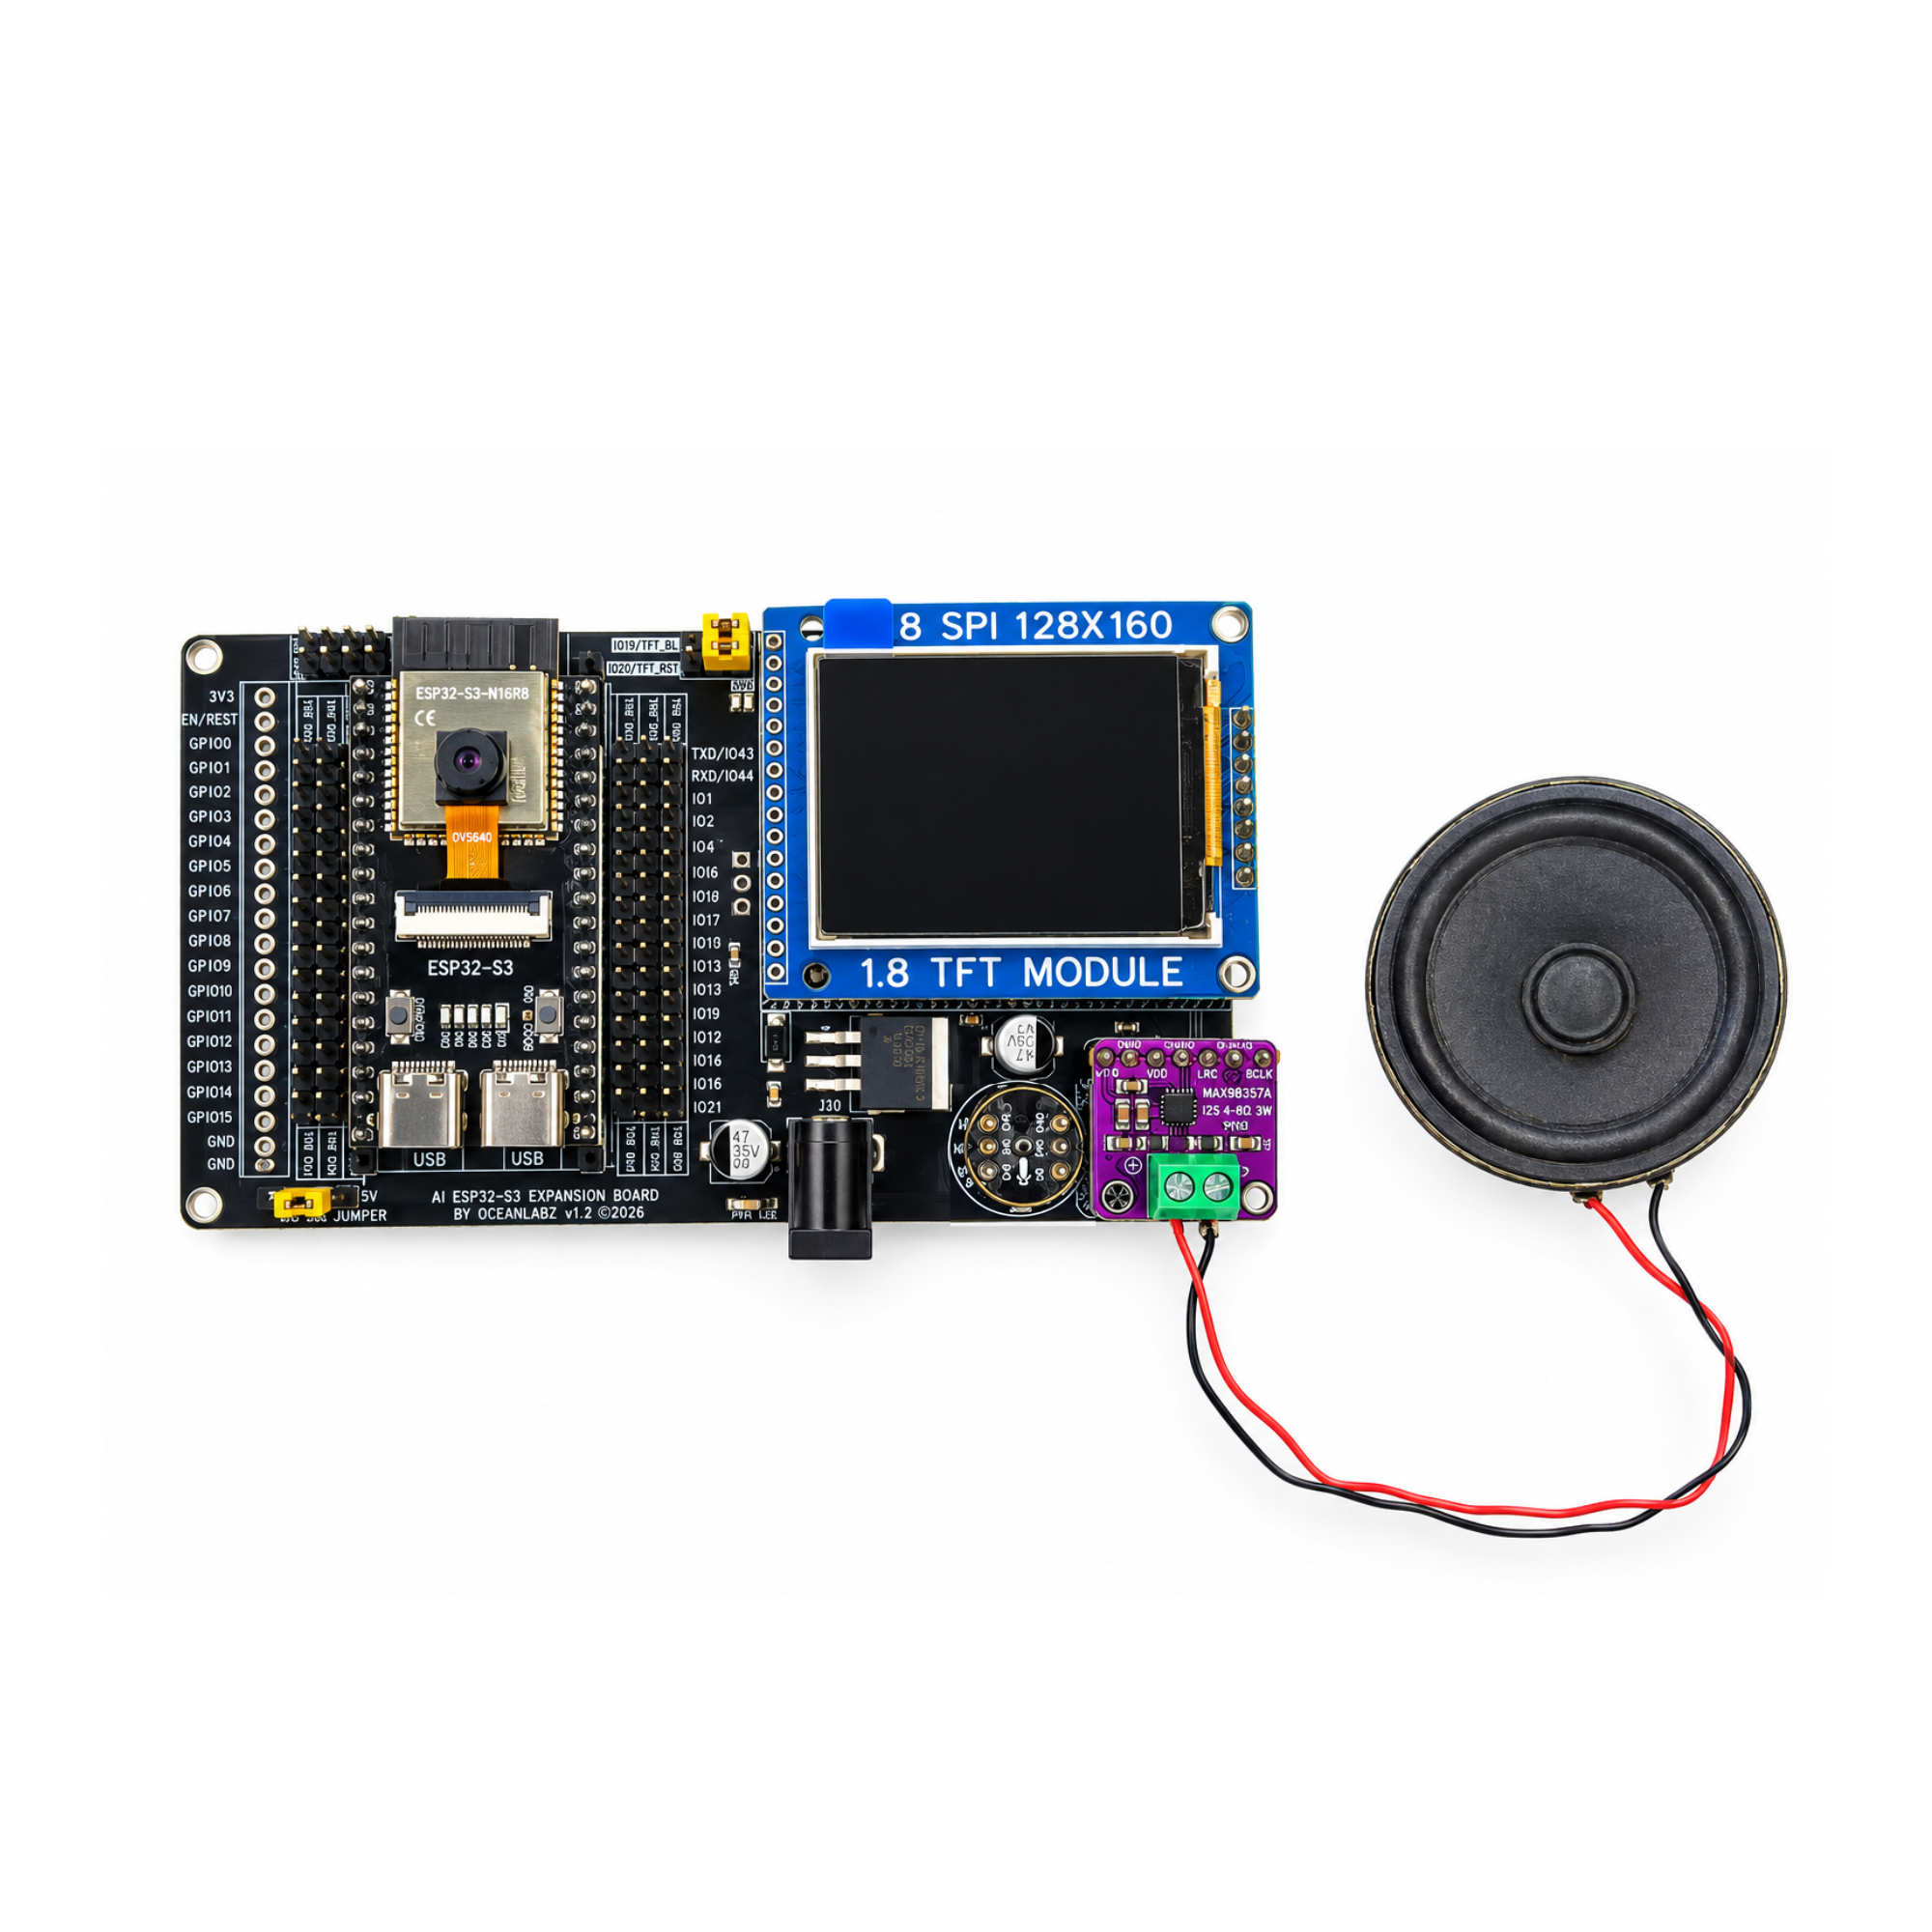
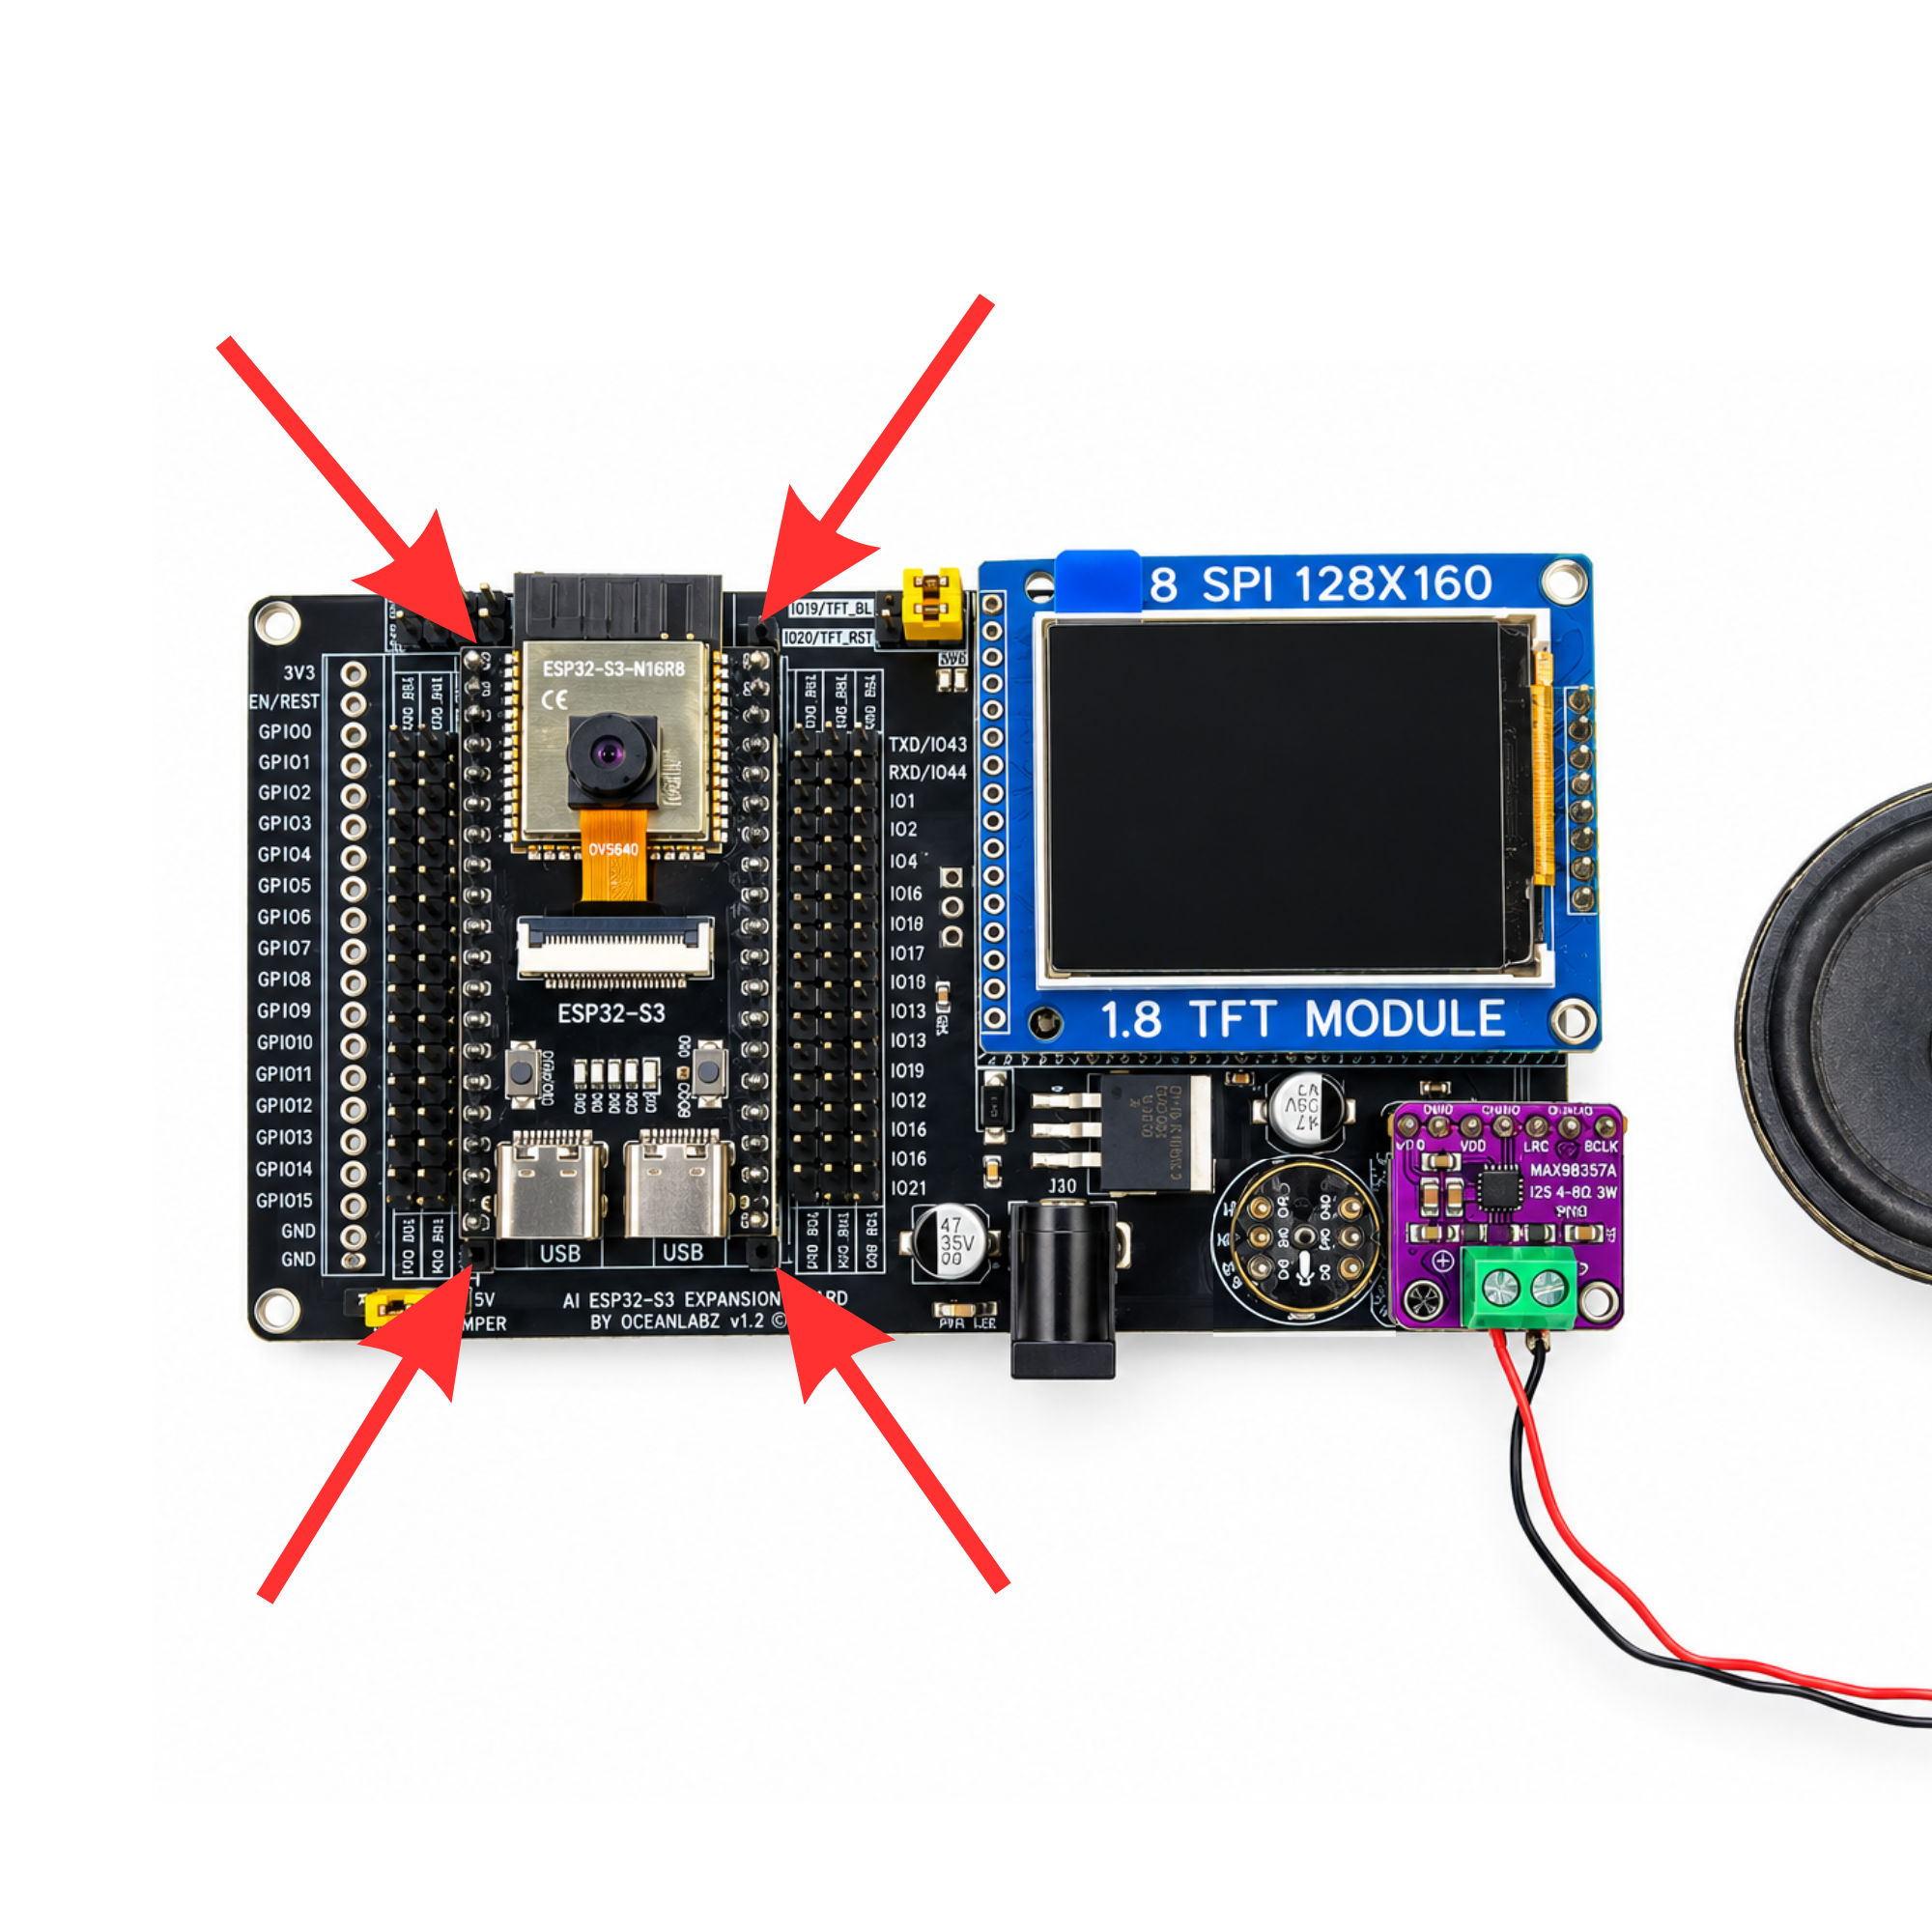
The ESP32-S3 AI Expansion Board, designed to work with an ESP32-S3 development board featuring two USB ports: USB OTG and USB UART.
Recommended Programming Method: Always use the USB UART port for programming instead of USB OTG. The USB OTG signal lines share GPIO connections with the TFT backlight and reset signals. Incorrect connections or configurations may cause hardware damage.
If USB UART Is Not Working: If USB OTG is your only programming option, first use the onboard jumpers to disconnect the TFT backlight and reset signals from their ESP32 GPIO connections. Then connect these signals directly to 3.3V as per the board's jumper configuration.
Once these changes are made, you can safely program the ESP32-S3 board through the USB OTG port, provided GPIO 19 and GPIO 20 are not being used for other functions in your code.
Flash Firmware (Browser-Based)
No Arduino IDE required — flash directly from your browser using Web Serial.
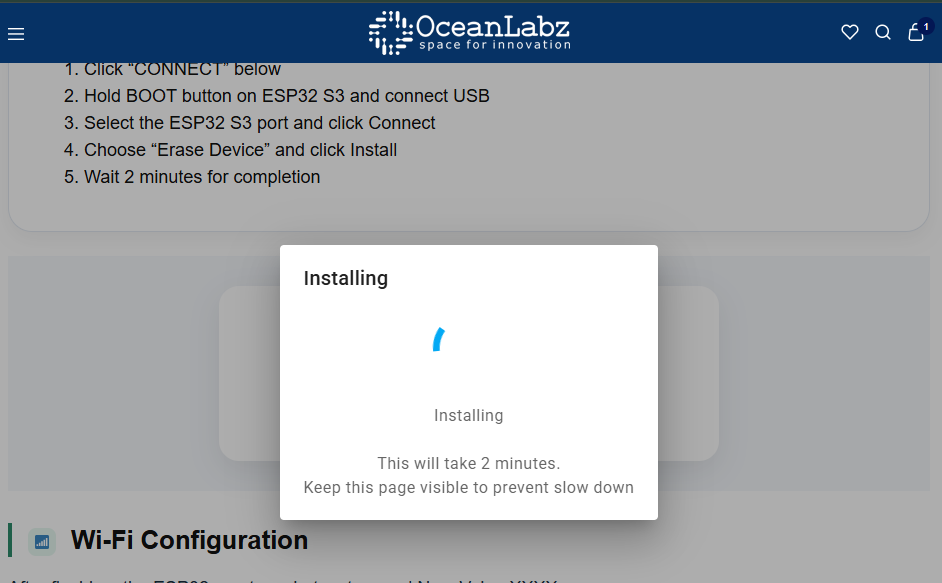
- Click "CONNECT" below
- Hold BOOT button on ESP32 and connect USB
- Select the ESP32 port and click Connect
- Choose "Install OceanLabz ESP32" and click Install
- Wait 2 minutes for completion
Wi-Fi Configuration
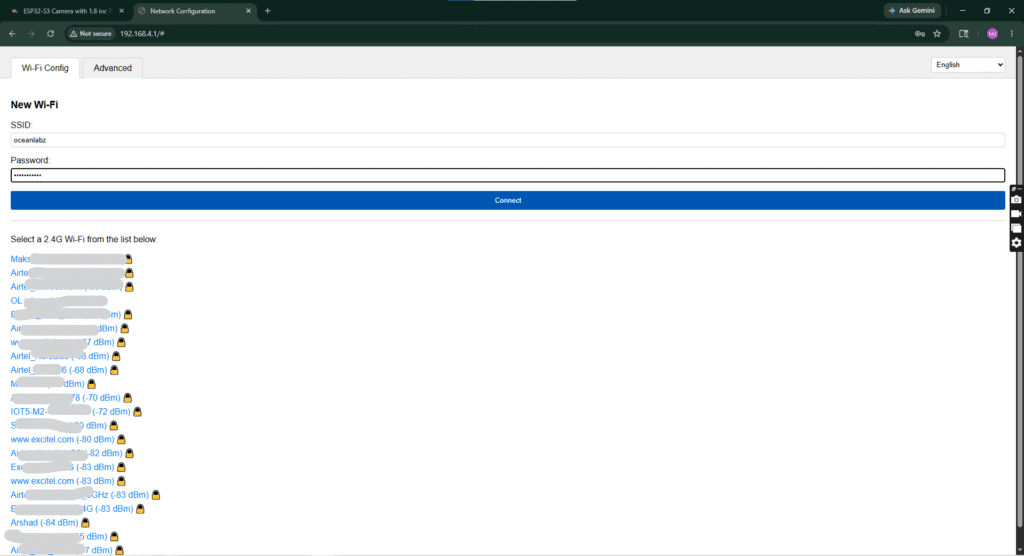
After flashing, the ESP32 creates a hotspot named Xiaozhi-XXXX.
- Connect to this Wi-Fi (no password)
- Open
192.168.4.1in browser - Select your home 2.4GHz Wi-Fi and enter password
- Device will restart and connect to your network
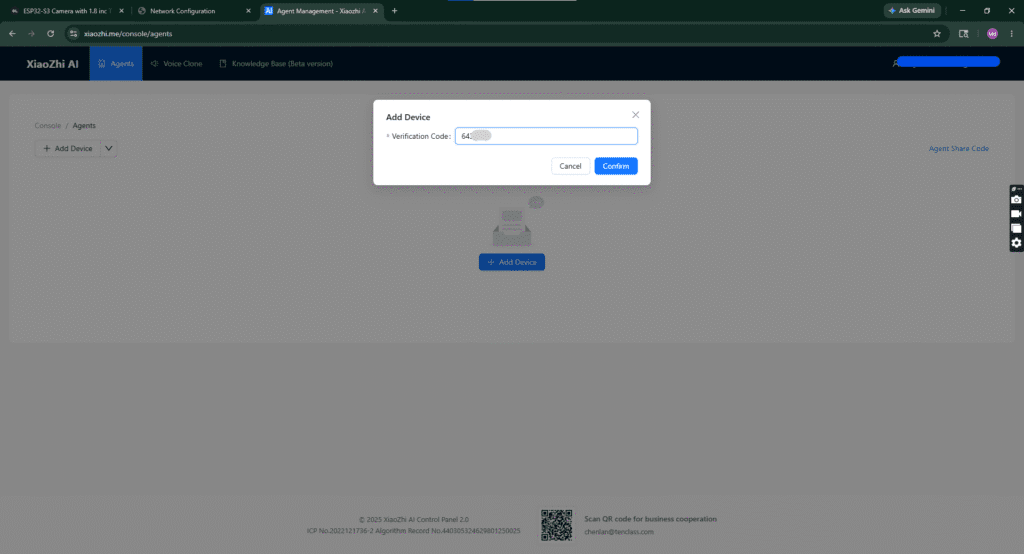
Create Account & Pair
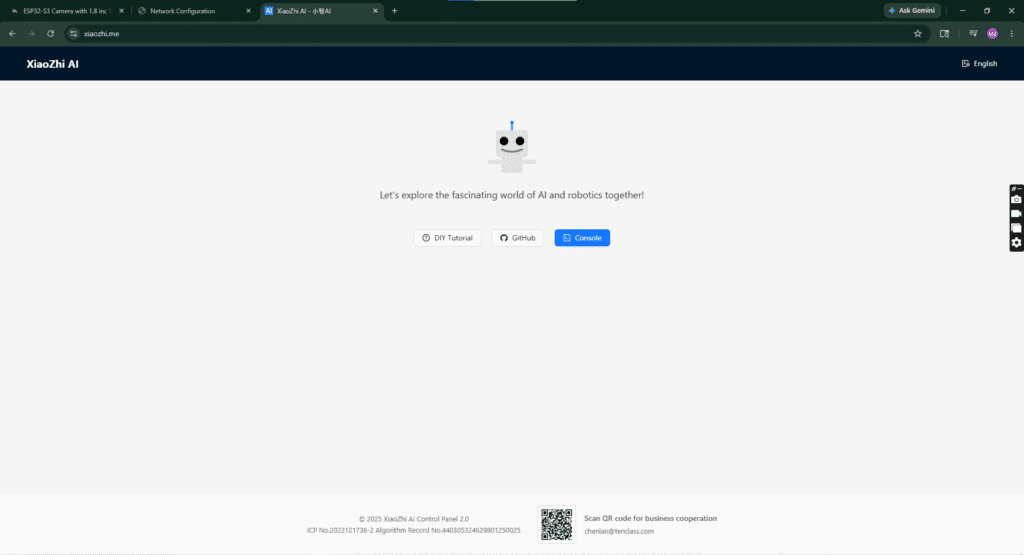
Pair Your ESP32